Create an Umbraco package test environment using PowerShell
posted onby
Richard Soeteman
tagged with
Configuration
Developer
v10
v11
v12
When you create a package you eventually need to test it in a real site. Repeatedly creating test sites can be a time consuming process if done manually. In this article I show you how I have automated the creation of test sites that reference my package code, so I can quickly start testing or debugging the next cool feature for a package in a real Umbraco site.
A little background
Creating a test site for your package requires a lot of steps.
Install the correct version of Umbraco.
Install a starterkit so we have some content.
Configure the site. The starterkit is a good start but most of the times we need to use our own datatypes or include extra content, members, or whatever we need.
Include Package code. I prefer referencing my source code from the test site instead of having a test site in my package solution. This is because I want to have a site in an initial state when I debug something for a client. So we need a solution file and to reference my package source code.
If you are like me, you need to do this a lot of times for multiple versions of Umbraco,
testing of features, testing a release, or going back to an initial state when a bug
report comes in.
Or if you are really like me you did something stupid and broke the whole site and need to start over again.
In this article I will show you how this can be automated using a small PowerShell
script that is using dotnet CLI and the power of the Umbraco template.
What will we create
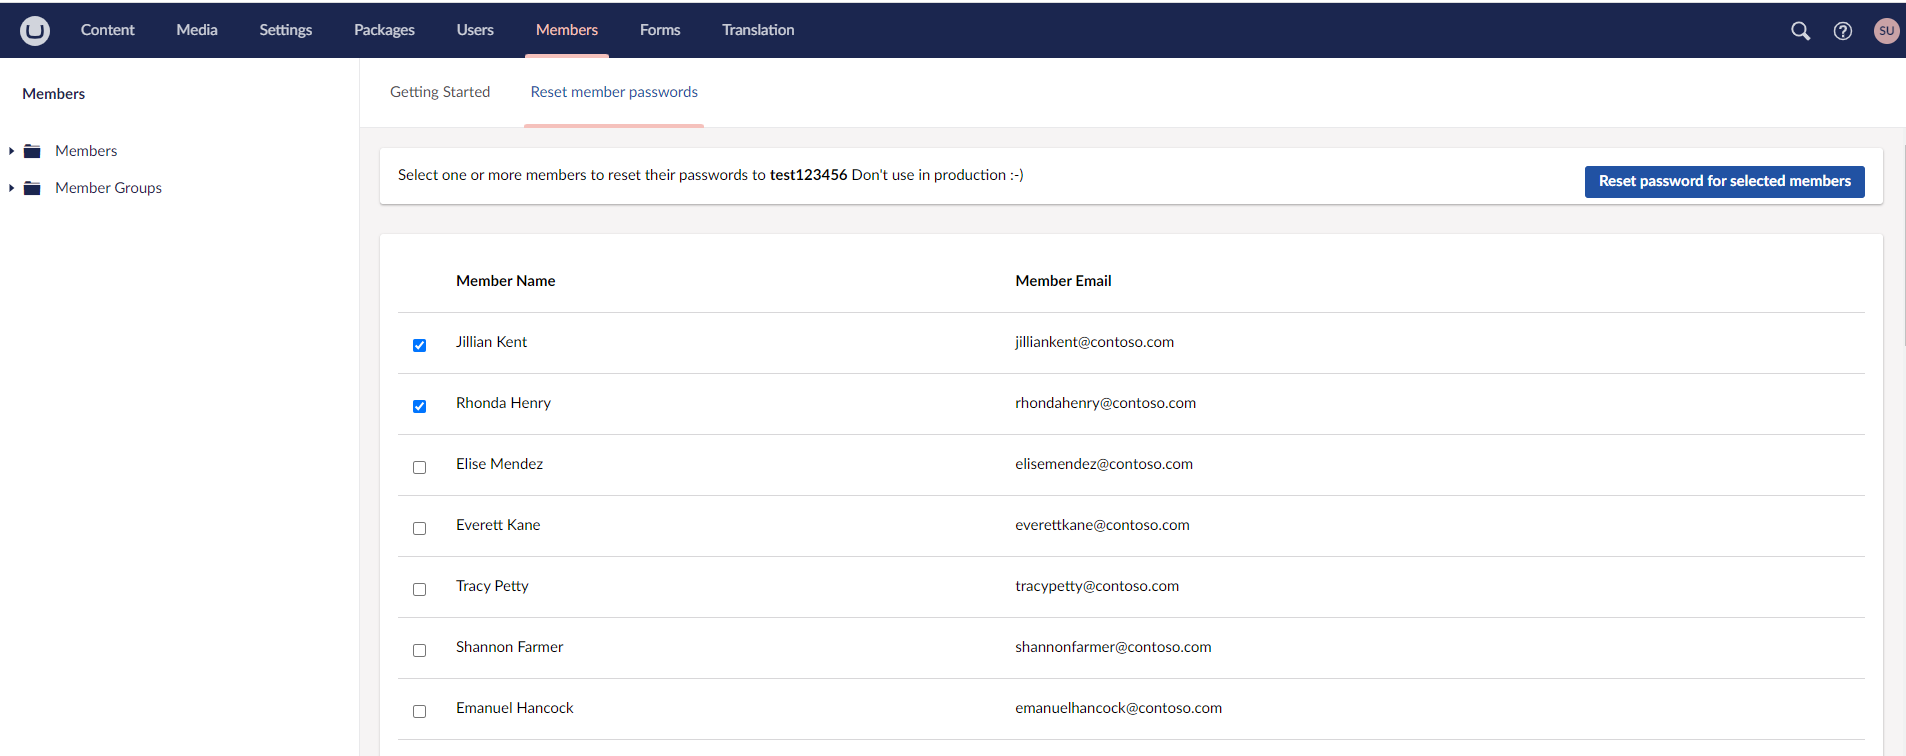
Some people might know me from the package called Admin Reset in the past.
People forget their passwords all the time, so I have created a package
called Member Reset, and am using that as a demo in this article.
Create the site using dotnet CLI and Umbraco unattended install option
To create the site I have created a PowerShell script that allows you to set some
variables for this specific package. Then it generates a test site using Umbraco's
unattended install option. This allows us to generate a site without any user interaction.
Since we are using LocalDB we don't need to configure a database as well.
I could have used SQLite but want to stay as close to production ready as possible,
therefore SQL Server.
And I also don't worry about the security of the username and password in this
script since test and debug sites will never see the day of light.
#Set Variables
$sitename = "24DaysTestSite"
$productlocation = "F:\umbraco\Demo\DevopsTalkGitHub\"
$projects = "DevOpsTalk.Core\DevOpsTalk.Core.csproj", "DevOpsTalk.StaticAssets\DevOpsTalk.StaticAssets.csproj", "DevOpsTalk.Web\DevOpsTalk.Web.csproj", "DevOpsTalk.AddTestData\DevOpsTalk.AddTestData.csproj"

#Create new Umbraco Site
dotnet new install Umbraco.Templates::12.3.0
dotnet new umbraco -n $sitename  --connection-string "Server=(localdb)\MSSQLLocalDB;AttachDbFilename=|DataDirectory|\Umbraco.mdf;Integrated Security=true"

cd $sitename
#Set info for installer
Set-Item Env:\UMBRACO__CMS__GLOBAL__INSTALLMISSINGDATABASE true
Set-Item Env:\UMBRACO__CMS__UNATTENDED__INSTALLUNATTENDED true
Set-Item Env:\UMBRACO__CMS__UNATTENDED__UNATTENDEDUSERNAME "Soeteman Software Test User"
Set-Item Env:\UMBRACO__CMS__UNATTENDED__UNATTENDEDUSEREMAIL "testuser@soetemansoftware.nl"
Set-Item Env:\UMBRACO__CMS__UNATTENDED__UNATTENDEDUSERPASSWORD "test123456"
Create a solution file
In the next step we will create a solution file for this project, add the newly
created project file, and install a starterkit for some content in the site.
In this step we also reference the source code of the real package code as well to
ensure we can debug that code immediately when starting the solution.
As mentioned before I prefer to have my core package code in a separate folder,
isolated from this test site. This allows me to just delete the complete website and
start over again without having to fear I deleted some real package code that was not
yet checked in Source Control.
In the initial script above I specified the path to my real source code in
the $productlocation variable and the projects to include in the $projects variable.
The part of the script below ensures those projects are added in the solution and are
referenced by our new test site project.
#Create solution and add project and Starterkit
dotnet new sln
dotnet sln add $($sitename+".csproj")
dotnet add package Umbraco.TheStarterKit --version 12.0.0

#Add other projects to the solution
foreach ($project  in $projects )
{
	dotnet sln add $($productlocation + $($project))
	dotnet add $($sitename+".csproj") reference $($productlocation +$($project))
}
Build and run the solution
Now we have all pieces in place we can build and run the site.
It's really nice to watch this process since it exactly shows what you manually
had to do without this script. After about 30 seconds (most of the time is taken
by missing database messages) all is ready and you can use the site.
#build site including dependencies
dotnet build

#start site
dotnet run
Modify starterkit
Ok so we have our new shiny test site, but one thing the PowerShell script did not do was to modify the Umbraco StarterKit to create some members, and/or add a login option on the text template to really test the functionality of this package. We don't want to do this manually every time.
Maybe you already noticed, one project we also reference is DevOpsTalk.AddTestData. This project contains a PackageMigration that gets triggered on startup once to create some members and replace the default.
First we create a PackageMigrationPlan and a PackageMigration to call the actual
ITestDataService service during install. In the Migrate() method of the
PackageMigration we call the AddTestData() method of the ITestDataService.